

CLIP-IT® installation instructions
How to use your Wedges.
Use the Regular Wedge with compatible CLIP-IT® clips to hold adjoining surfaces in alignment while the adhesive cures.
- Profile
- Regular
- Design
- Reusable
- Colour
- Black

Before you start
Prepare for a clean installation.
Choose the clip and wedge
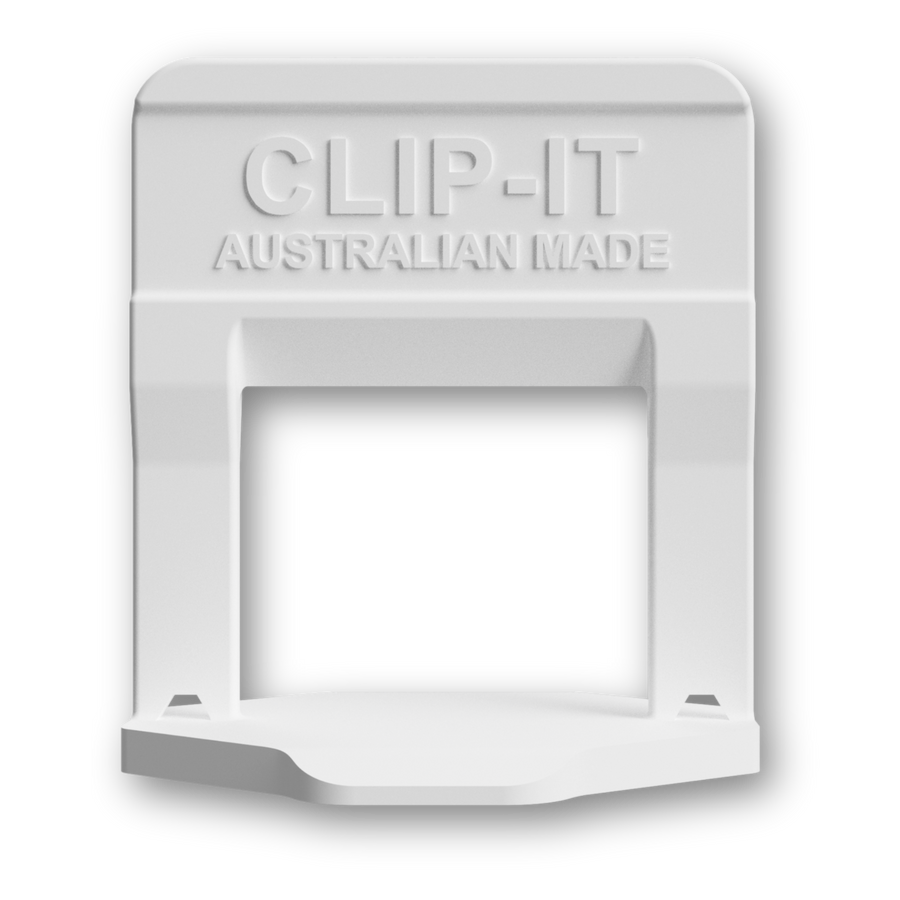
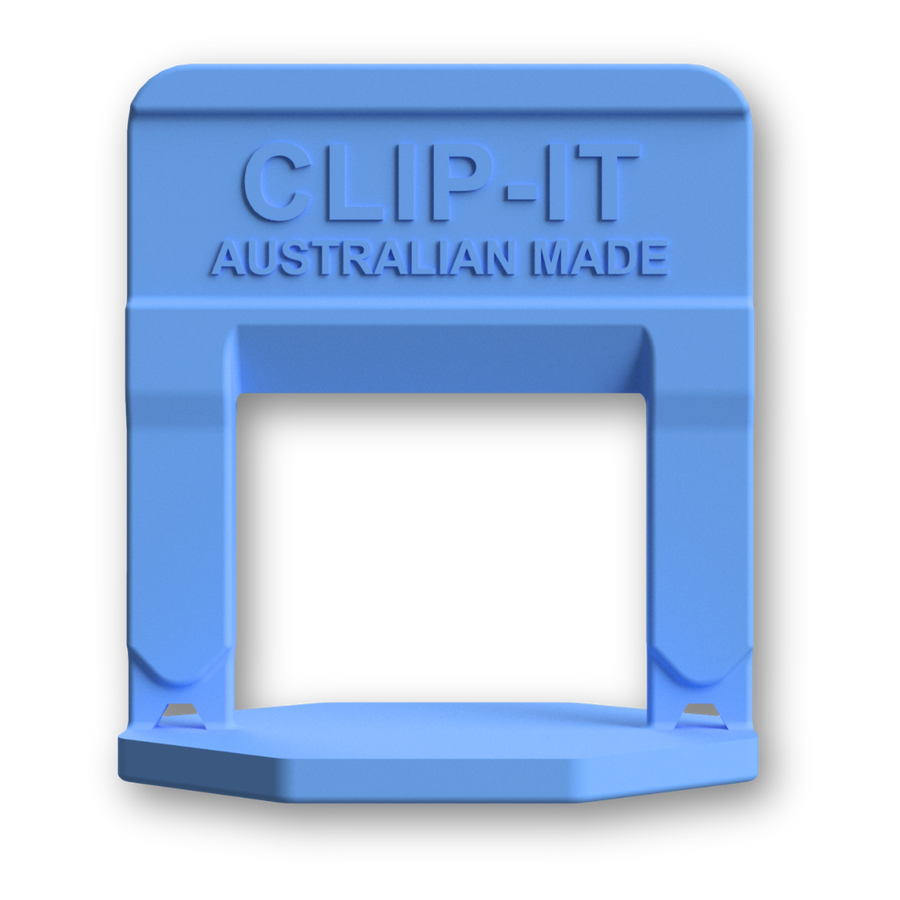
Check the grout joint and material thickness, then choose a compatible CLIP-IT® clip. A wedge does not set the grout joint by itself.
Place the clips and tiles
Prepare the base and apply the correct adhesive. Position the clip base beneath adjoining tile edges, keeping the clip legs clear of excess adhesive.
Check access for tightening
Use the Regular Wedge with a compatible clip. Check access around the tile edges and fit before tightening.
Using the product
Insert. Tighten. Recover.
The wedge is reusable; the clip is removed after curing.
Insert through the clip opening
With the clip and adjoining tiles in position, push the wedge through the clip opening.
The wedge should work with the selected clip across the adjoining surfaces. Keep the area around the clip clear of adhesive.
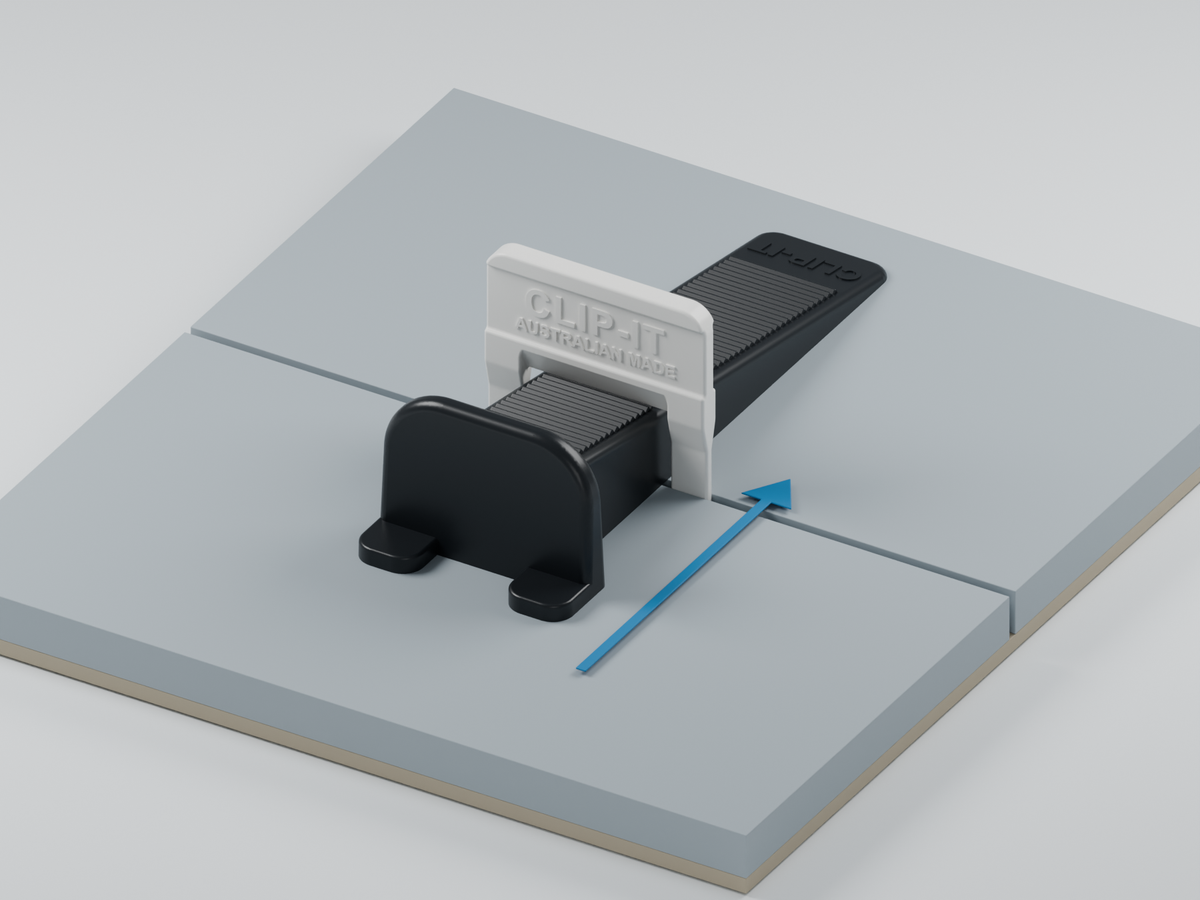
Tighten and leave in place
Tighten by hand or with CLIP-IT® Tile Pliers to hold the tile edges in alignment.
Leave the clip and wedge in place until the adhesive has cured, following the adhesive manufacturer’s instructions.
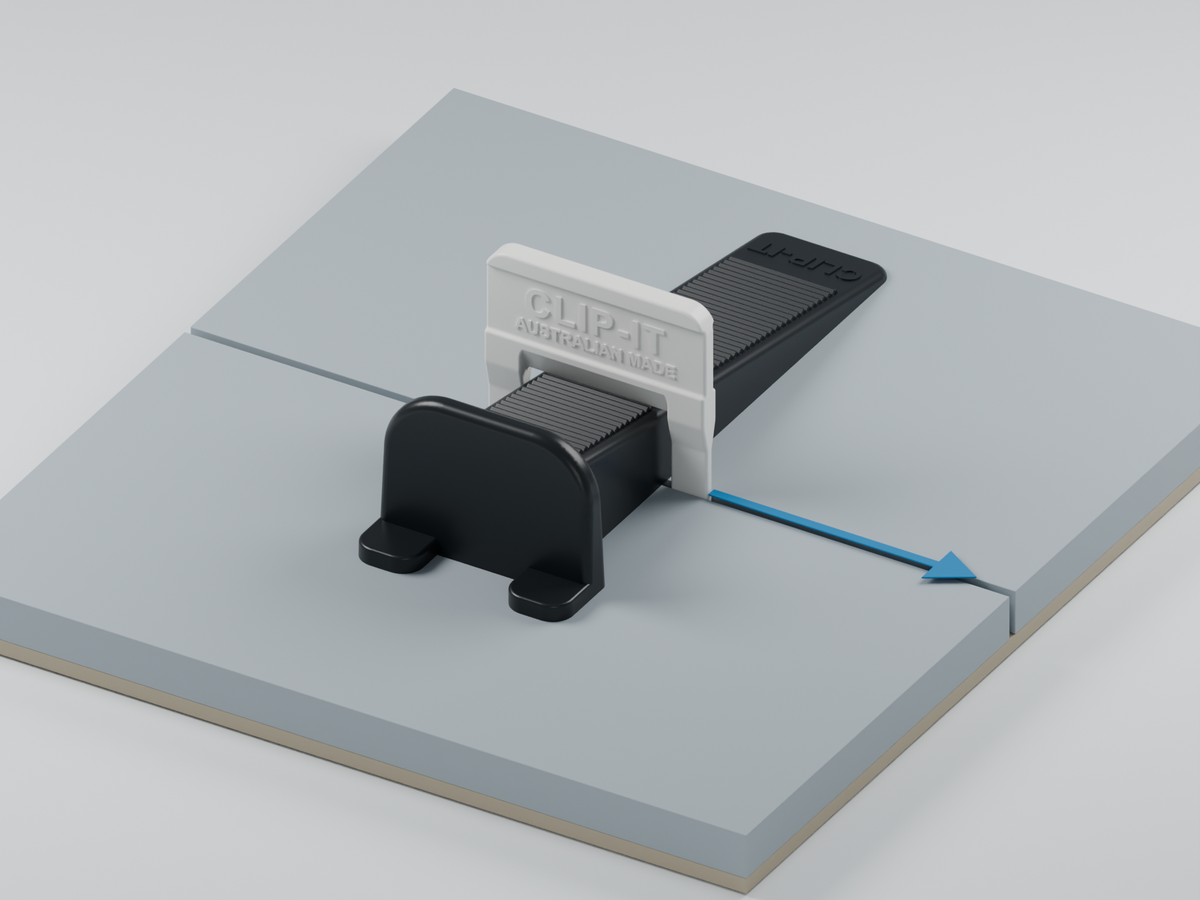
Remove the clip and recover the wedge
After curing, remove the clip along the grout line.
Recover the reusable wedge for the next installation. The clip breaks at the base; the wedge is kept.
Complete the setup
Complete your setup.
Use the compatible CLIP-IT® products for this guide.
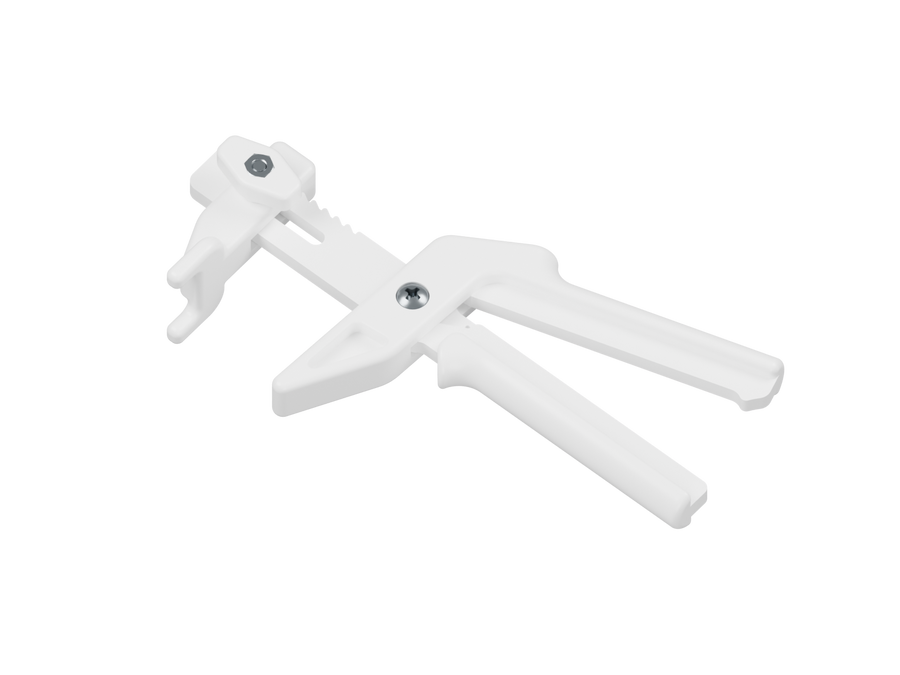
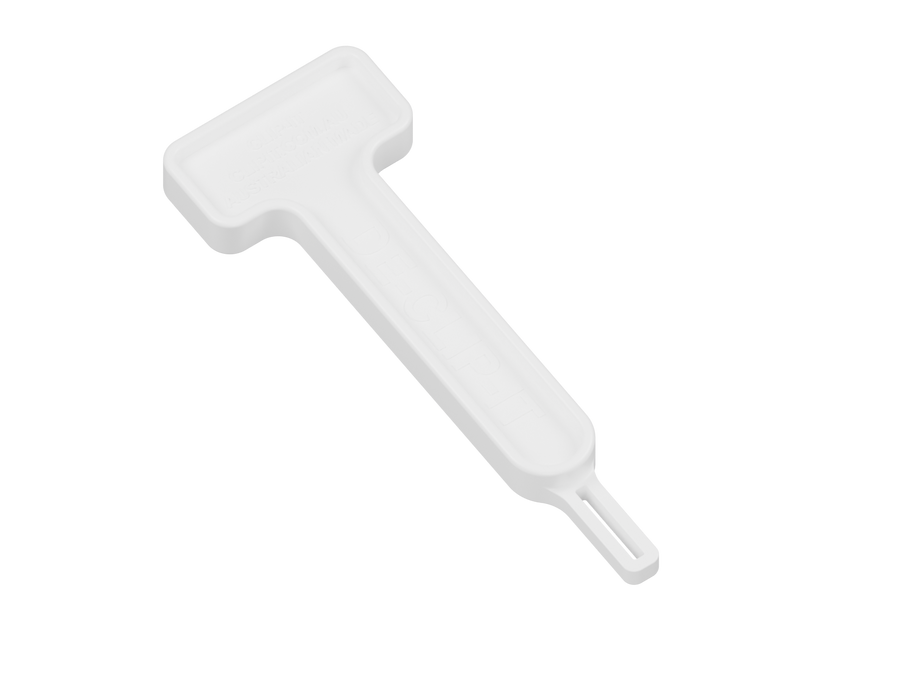
A few useful answers
Get the details right.
Clip fit, tightening and wedge reuse.
Does the wedge set the grout joint?
No. Choose the compatible clip with the joint spacing needed for the job. The wedge works through that clip to hold alignment.
When should I choose this wedge?
The longer Regular Wedge profile suits general wall and floor tiling, including medium and large format tiles.
Can I reuse it?
Yes. Recover the wedge after the clip is removed and keep it for the next installation.
Can it be used with every stone clip?
Follow the specific stone-clip guide and confirm wedge fit for its thickness range. The stone range has separate wedge selection guidance; do not assume one wedge fits every setup.
Talk to the people who make it
Need a hand with your installation?
Tell the CLIP-IT® team your material thickness, joint width and what is happening so we can help you check the setup.