

CLIP-IT® installation instructions
How to use your CLIP-IT® Tile Pliers.
Tighten compatible wedges after the clips and adjoining tiles are in position.
- Use stage
- Wedge tightening
- Compatibility
- CLIP-IT® clips & wedges
- Colour
- White

Before you start
Prepare for a clean installation.
Use a compatible setup
Place compatible clips beneath adjoining tile edges and insert the selected wedges first.
Keep the area clear
Clear adhesive from the clip legs and joints while laying. Check that the wedge and clip sit correctly.
Check the pliers fit
Use the CLIP-IT® Tile Pliers with the compatible wedge and clip. If the tool does not engage the setup as expected, check it with CLIP-IT® before continuing.
Using the product
Position. Tighten. Leave to cure.
Use the pliers during wedge tightening, after tile and clip placement.
Position at the clip and wedge
Bring the Tile Pliers to the compatible clip and partly inserted wedge.
Use the tool to push the wedge through the clip; check the engagement against the demonstration.
Tighten the compatible wedge
Use the pliers to advance the wedge and hold adjoining edges in alignment.
Check the adjoining tile surfaces as you work and ask CLIP-IT® if you need setup advice.
Leave the setup until curing
Remove the pliers and leave the clip and wedge in position.
After curing, remove the clips along the grout line and recover the wedges. Use the pliers during tightening and the appropriate tool for removal.
Complete the setup
Complete your setup.
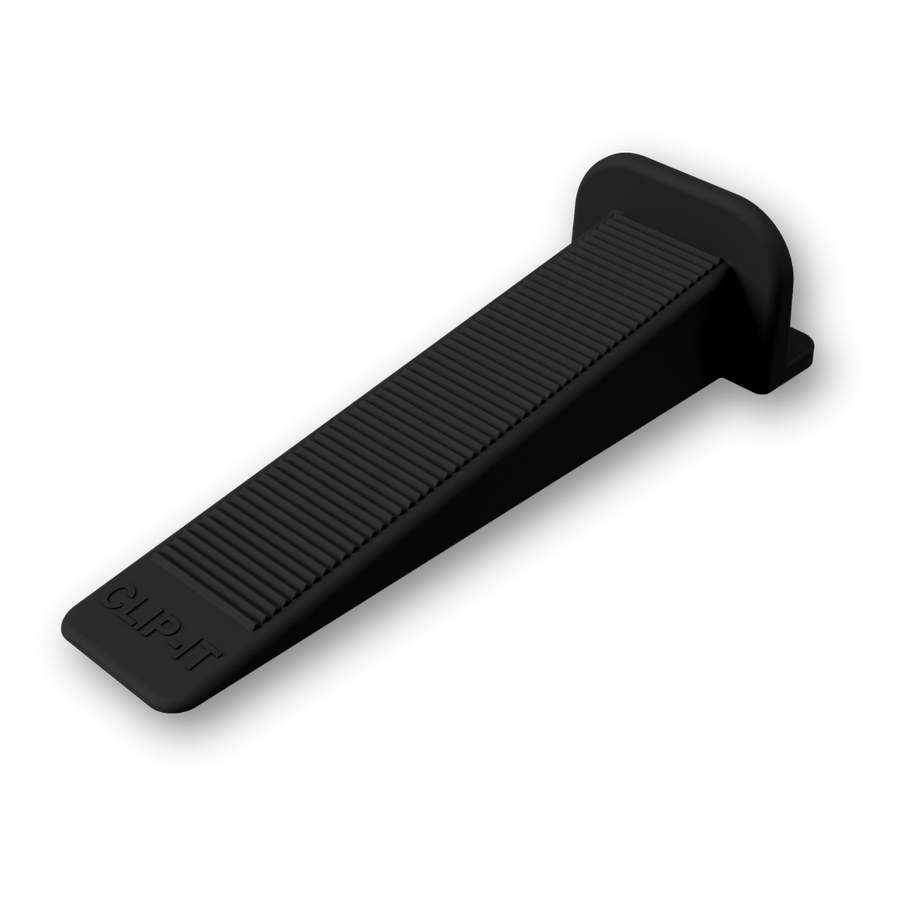
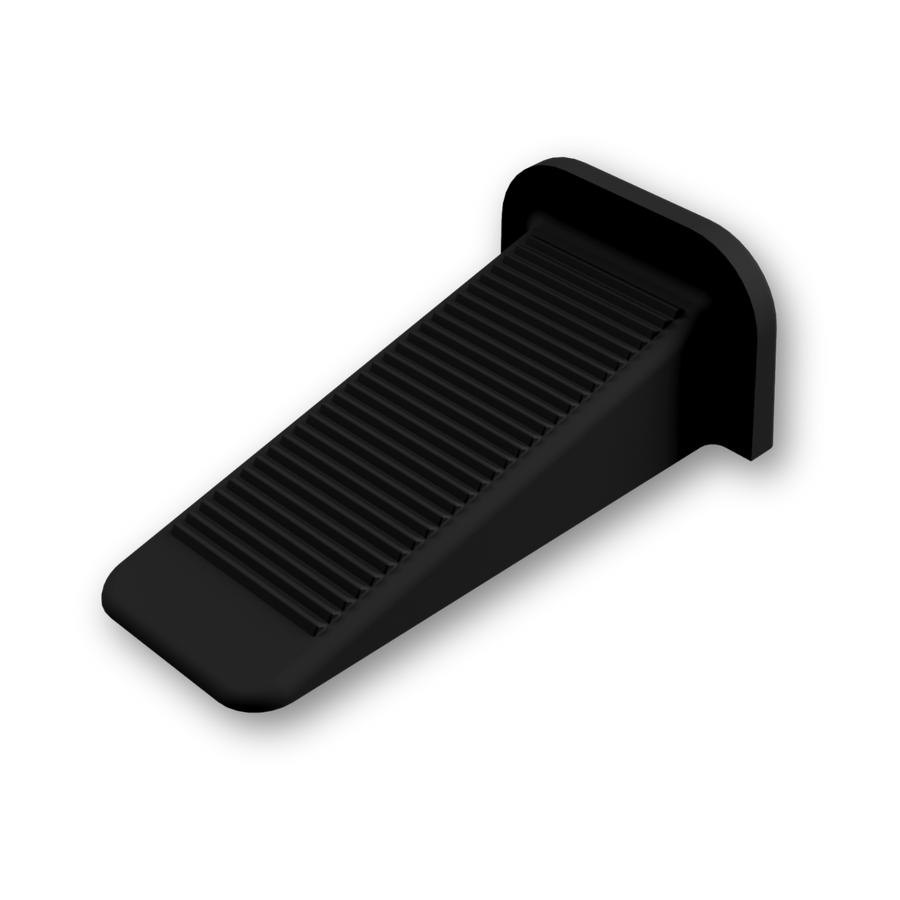
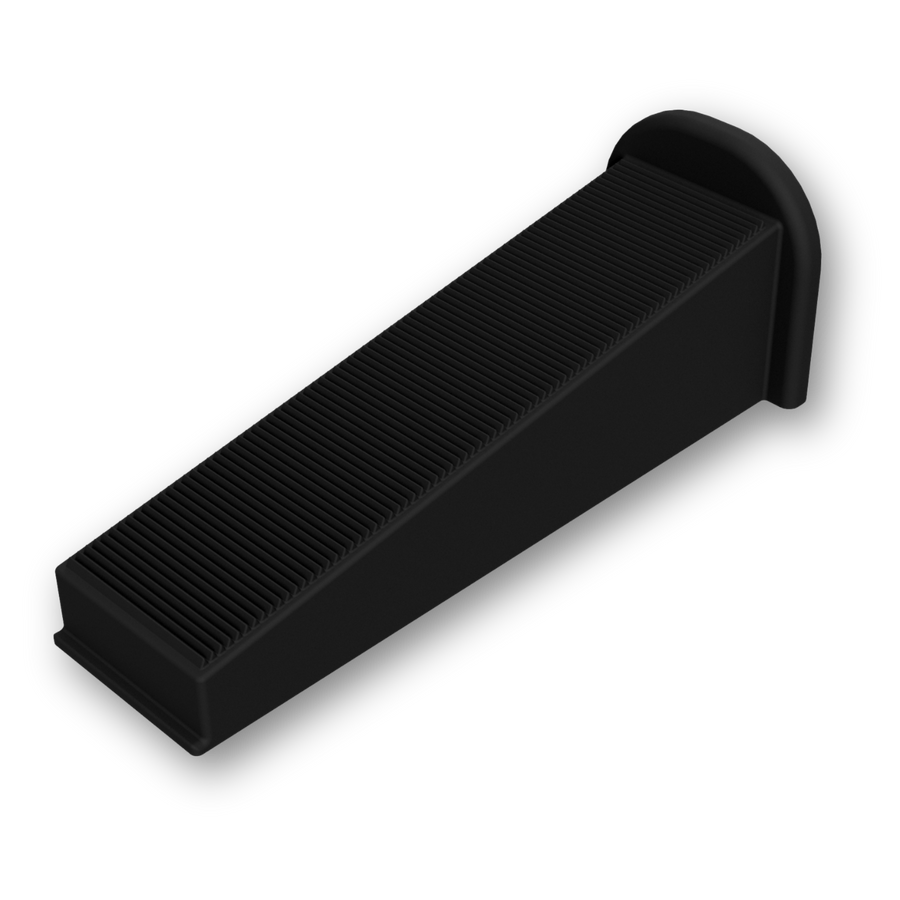
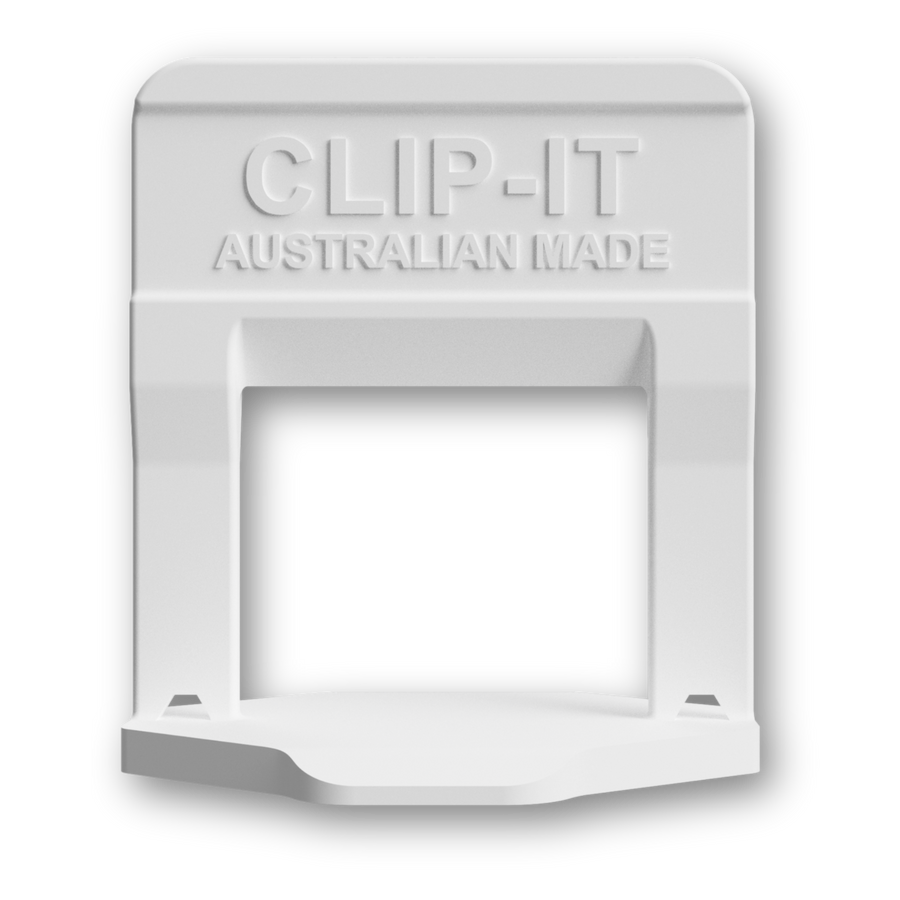
Use the compatible CLIP-IT® products for this guide.
See the system in action
See the system in action.
The starter kit demonstration includes CLIP-IT® Tile Pliers with the white 1.5 mm clip and Regular Wedge.
The video shows the starter kit; other compatible clip setups must be checked for fit.
Open the tutorialA few useful answers
Get the details right.
Compatible wedges, tool fit and tightening.
What do the pliers do?
They push compatible wedges through clips with controlled pressure during installation.
Which wedges can I use?
Regular Wedges, Mini Wedges and Stone & Paver Wedges when used in the compatible clip setup.
How do I check the tightening setup?
Check the clip, wedge and material fit, and watch the adjoining surfaces as you tighten. Ask CLIP-IT® if you need help with your setup.
Are the pliers for clip removal?
No. Remove clips after curing along the grout line, using the appropriate removal method or the DE-CLIP-IT Hammer.
Talk to the people who make it
Need a hand with your installation?
Tell the CLIP-IT® team your material thickness, joint width and what is happening so we can help you check the setup.