

CLIP-IT® installation instructions
How to use your DE-CLIP-IT Hammer.
Remove compatible levelling clips along the grout line after the installation has cured.
- Use stage
- After curing, before grouting
- Direction
- Along the grout line
- Colour
- White

Before you start
Prepare for a clean installation.
Wait for curing
Use the removal tool after the adhesive or bedding material has cured and before grouting.
Check the clip size
The slotted end fits compatible clips. It does not slide over the larger 3 mm 30–40 mm Stone Clips.
Identify the grout-line direction
Plan removal along the grout line. Keep the joint and clip legs clear of excess adhesive during laying.
Using the product
Check. Remove. Recover.
Wait for curing before starting clip removal.
Check the cured clip
Check that curing is complete and identify the direction of the grout joint.
For compatible clips, the slotted end can engage the clip; use the demonstration to check the fit.
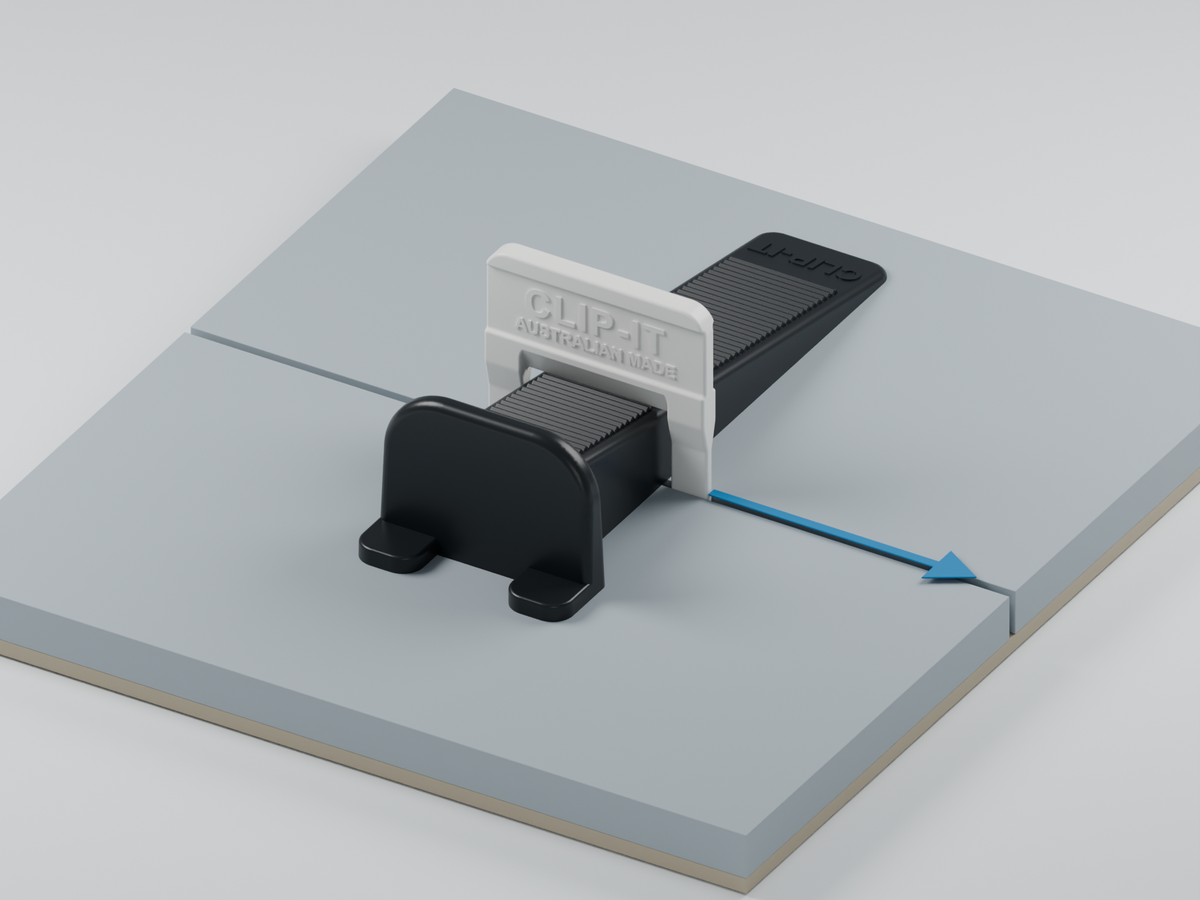
Remove along the grout line
Use the DE-CLIP-IT Hammer in the direction of the grout joint to break the cured clip at its base.
For 3 mm 30–40 mm Stone Clips, use hammer action only. Do not try to slide the tool’s slot over these larger clips.
Recover the reusable wedges
Collect the wedges after the clips are removed.
Check the joints before grouting and keep the wedges for the next compatible installation.
Complete the setup
Complete your setup.
Use the compatible CLIP-IT® products for this guide.
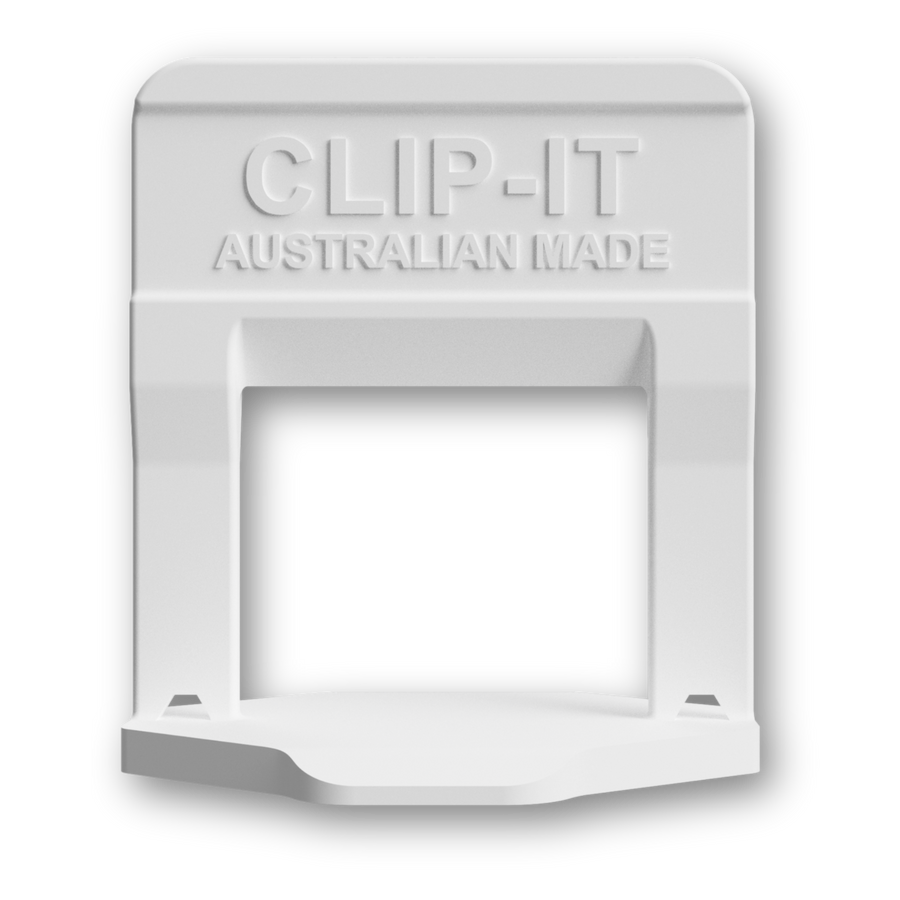
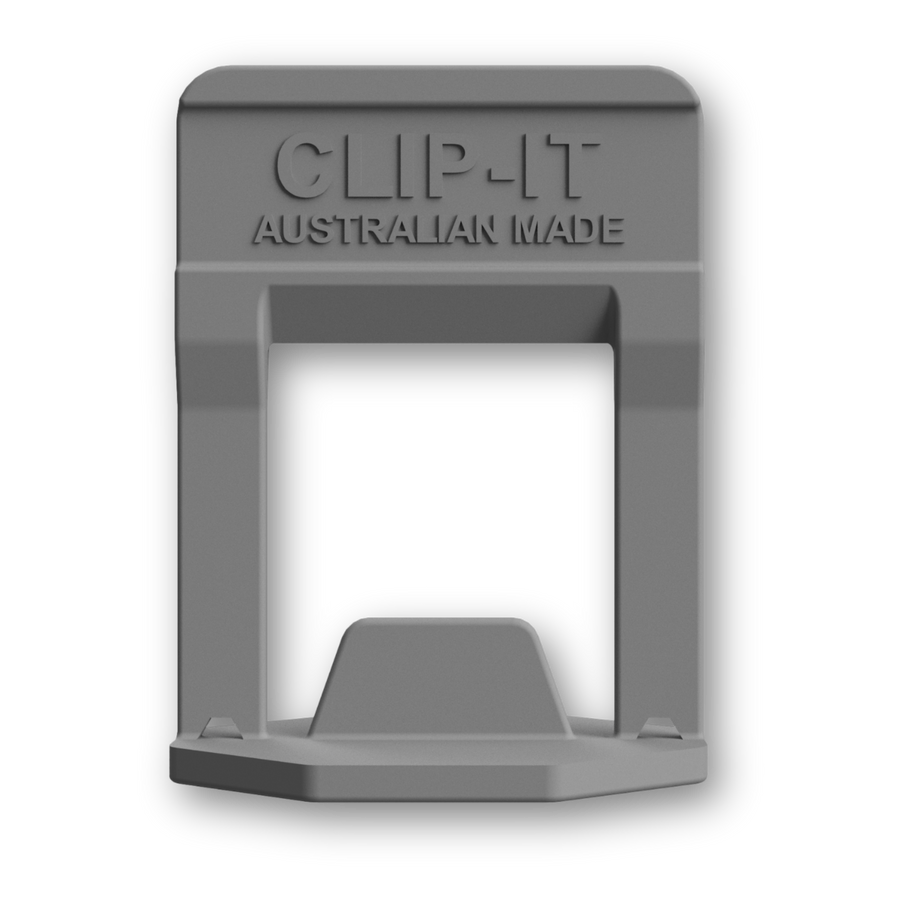
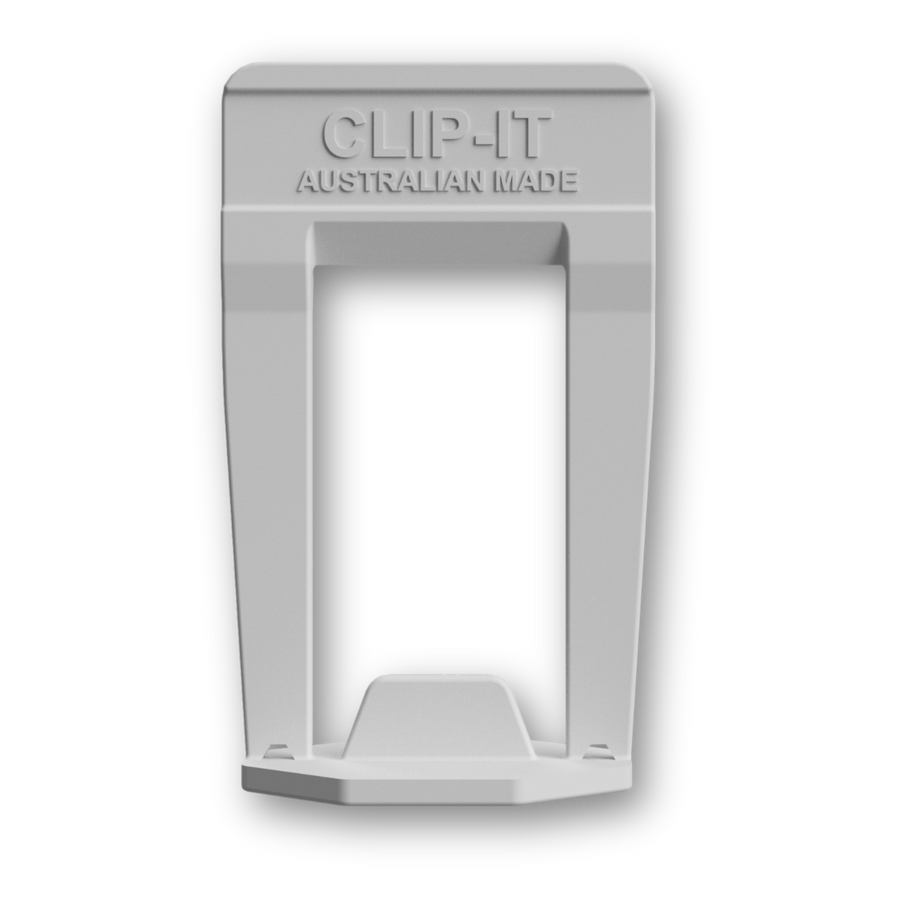
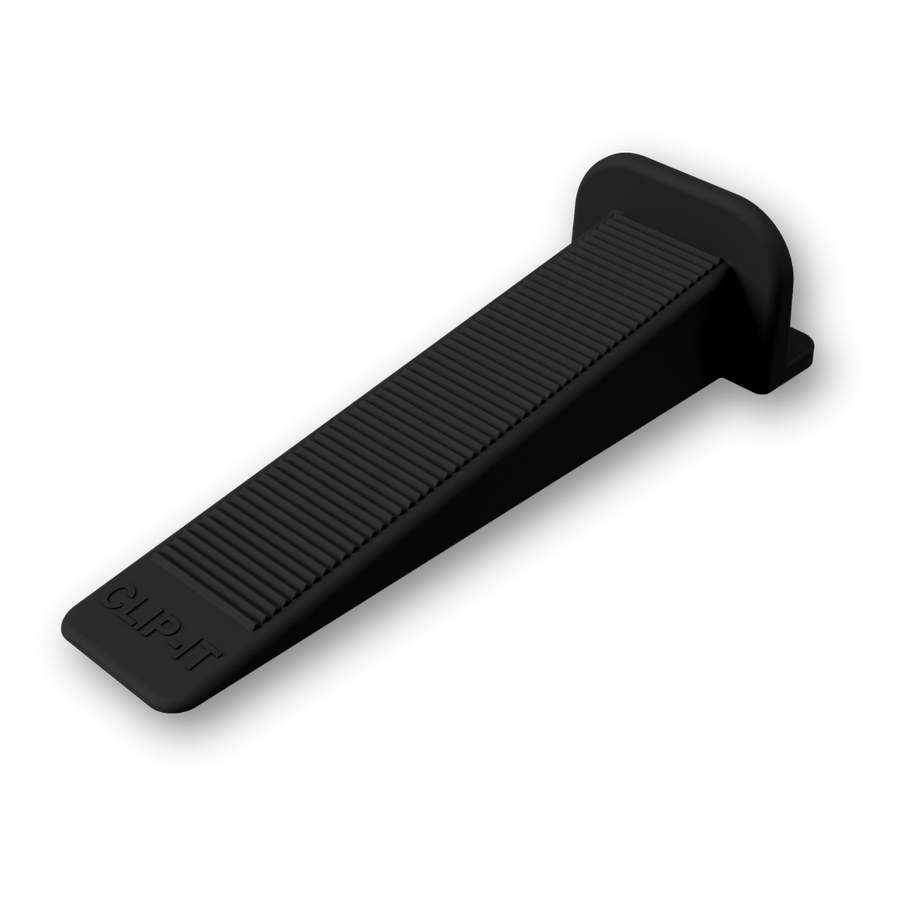
Reusable tile levelling wedges
Recover the reusable wedges after clip removal.
View product How to useSee the system in action
See the system in action.
The starter kit demonstration shows the DE-CLIP-IT Hammer with the compatible white 1.5 mm clips.
The larger 3 mm 30–40 mm Stone Clips need hammer action; the slotted end does not fit them.
Open the tutorialA few useful answers
Get the details right.
Curing, removal direction and slot fit.
When should I use the hammer?
After curing and before grouting. Follow the adhesive or bedding manufacturer’s curing instructions.
Which direction should I work in?
Work along the grout line, following the direction of the joint.
Does the slotted end fit 30–40 mm Stone Clips?
No. It does not slide over those larger clips. The tool can still be used as a hammer to knock them off after curing.
What if a clip does not break cleanly?
Excess adhesive around the clip leg can interfere with removal. If a cured clip remains stuck, contact CLIP-IT® for help rather than assuming a larger force is the answer.
Talk to the people who make it
Need a hand with your installation?
Tell the CLIP-IT® team your material thickness, joint width and what is happening so we can help you check the setup.