

CLIP-IT® installation instructions
How to assemble your 30 mm Stone & Paver Wedge.
Join the wedge to its matching spacer before using the compatible stone and paver setup.
- Assembly
- Wedge + matching spacer
- Design
- Reusable
- Colour
- Black

Before you start
Get the matching parts ready.
Have both parts ready
Use the 30 mm Stone & Paver Wedge and its matching Stone & Paver Wedge Spacer.
Clean the connection
Clear dirt and debris from the wedge and spacer before assembly.
Confirm the installation fit
Use the assembled wedge with a compatible stone clip and material thickness. Follow that clip’s wedge selection guidance before laying.
Using the product
Align. Lock. Check.
Assemble the two parts before the compatible stone or paving installation.
Align the wedge with the spacer
Line up the front of the 30 mm wedge with the channel on the matching spacer.
Make sure both parts sit straight before pressing them together.
Lock the parts together
Press the rear of the wedge until it snaps into the spacer.
A click confirms that the parts have locked together.
Check the assembly
Check that the wedge sits evenly inside the spacer.
The assembly is then ready for the compatible paving installation. Follow the stone clip guide for placement, tightening and removal.
Complete the setup
Complete your setup.
Use the compatible CLIP-IT® products for this guide.
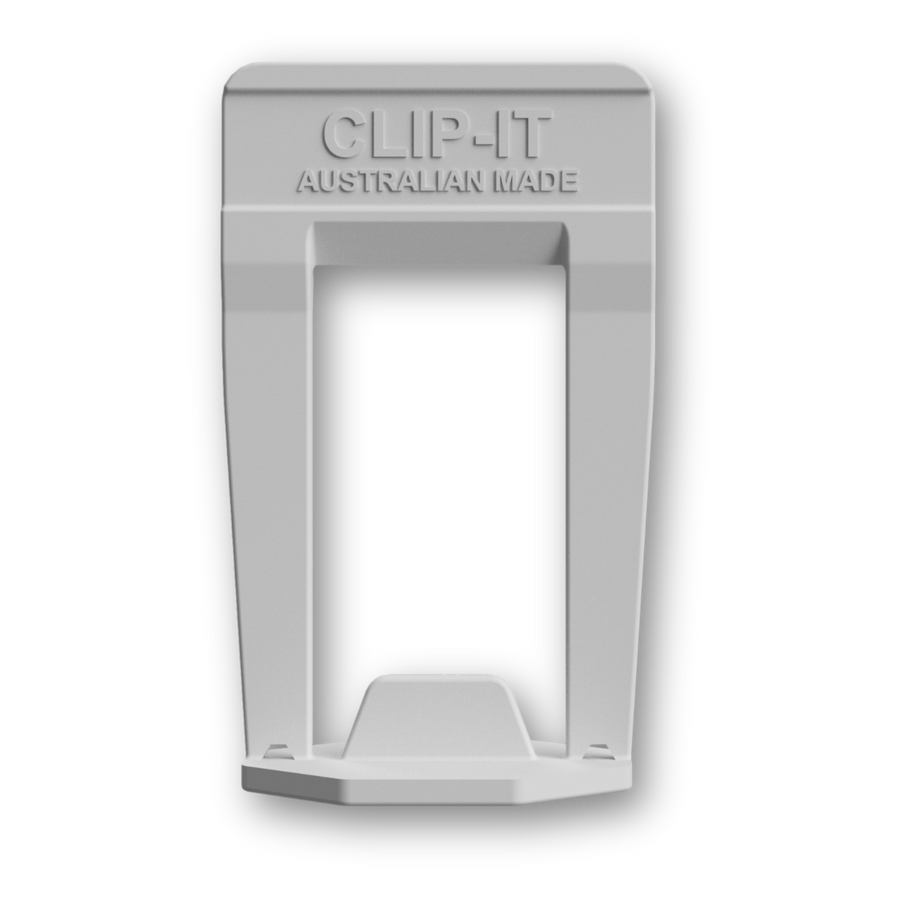
3 mm stone clips · 30–40 mm
Compatible clip for 30–40 mm material; confirm wedge fit.
View product How to use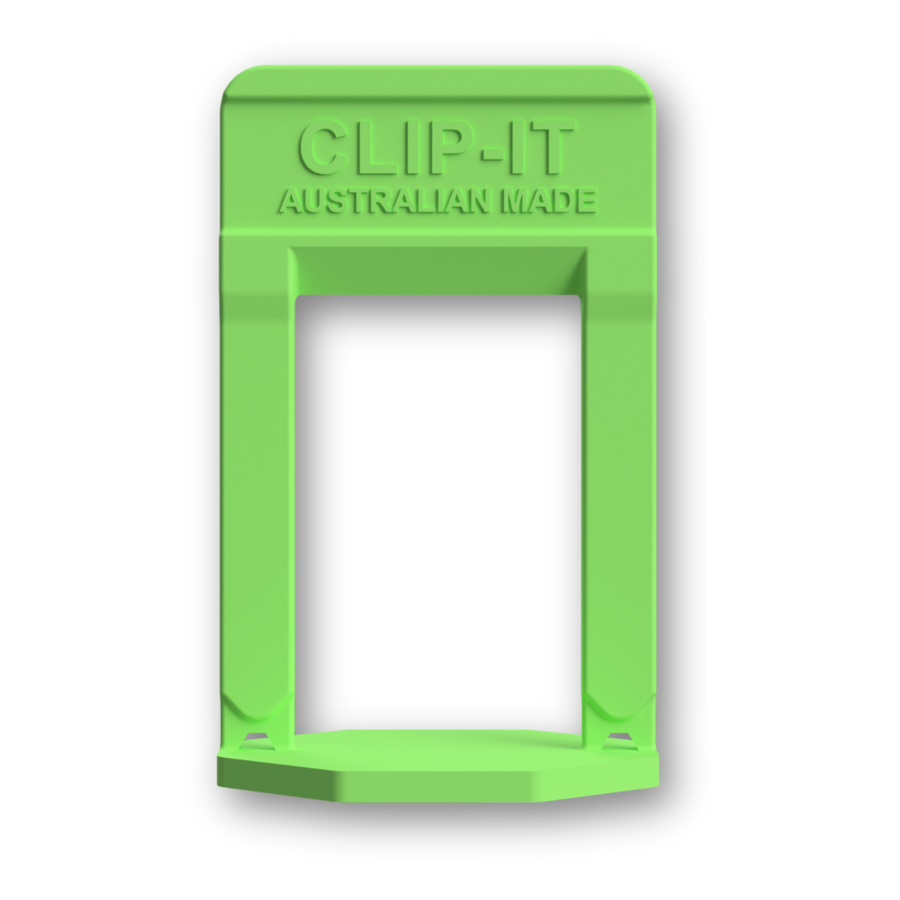
3 mm stone clips · 20–30 mm
Wedge option for 20–25 mm material; confirm at 25 mm.
View product How to use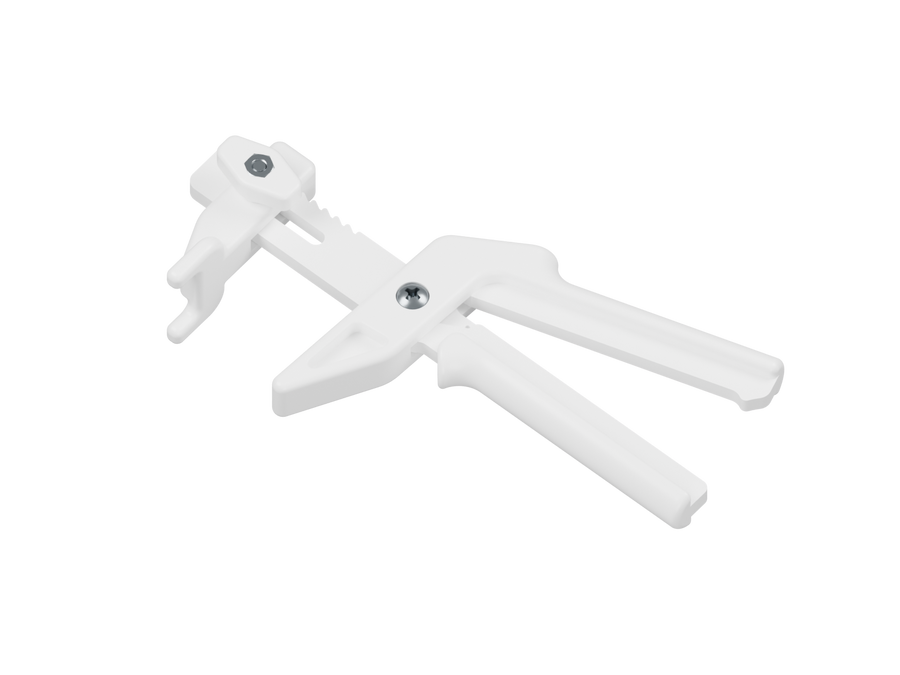
A few useful answers
Get the details right.
Matching parts, assembly and compatible stone clips.
Is this an assembly guide or a paving guide?
These steps join the wedge to its spacer. For clip placement, tightening and removal, follow the guide for the compatible stone clip.
Which clips can I use?
Use the compatible 3 mm 30–40 mm Stone Clip. The 20–30 mm Stone Clip also uses this wedge for 20–25 mm material; confirm fit at the 25 mm boundary.
Can the wedge be reused?
Yes. Recover the wedge after clip removal for another compatible stone or paving installation.
What if the parts do not seat properly?
Check the part alignment and clear dirt or debris from the connection. If the assembly still does not seat, contact CLIP-IT® before using it.
Talk to the people who make it
Need a hand with your installation?
Tell the CLIP-IT® team your material thickness, joint width and what is happening so we can help you check the setup.