

CLIP-IT® installation instructions
How to use your 1.5 mm brick & herringbone clips.
Use the aqua clip along tile edges in patterned layouts. Keep the chosen pattern and 1.5 mm joints consistent while laying.
- Grout joint
- 1.5 mm
- Layout
- Brick, herringbone & offset
- Clip colour
- Aqua

Before you start
Prepare for a clean installation.
Check the base and layout
Make sure the base is clean, flat and level. Set out the layout and check the material thickness before laying.
Use the right adhesive
Choose adhesive or bedding material suited to the installation. Apply it with the appropriate trowel, following the manufacturer’s instructions.
Have compatible wedges ready
Choose a compatible CLIP-IT® wedge for the clip and material thickness. Keep the clips and wedges clean before use.
Using the product
Place. Tighten. Remove.
Follow the three stages for your clip and compatible wedge.
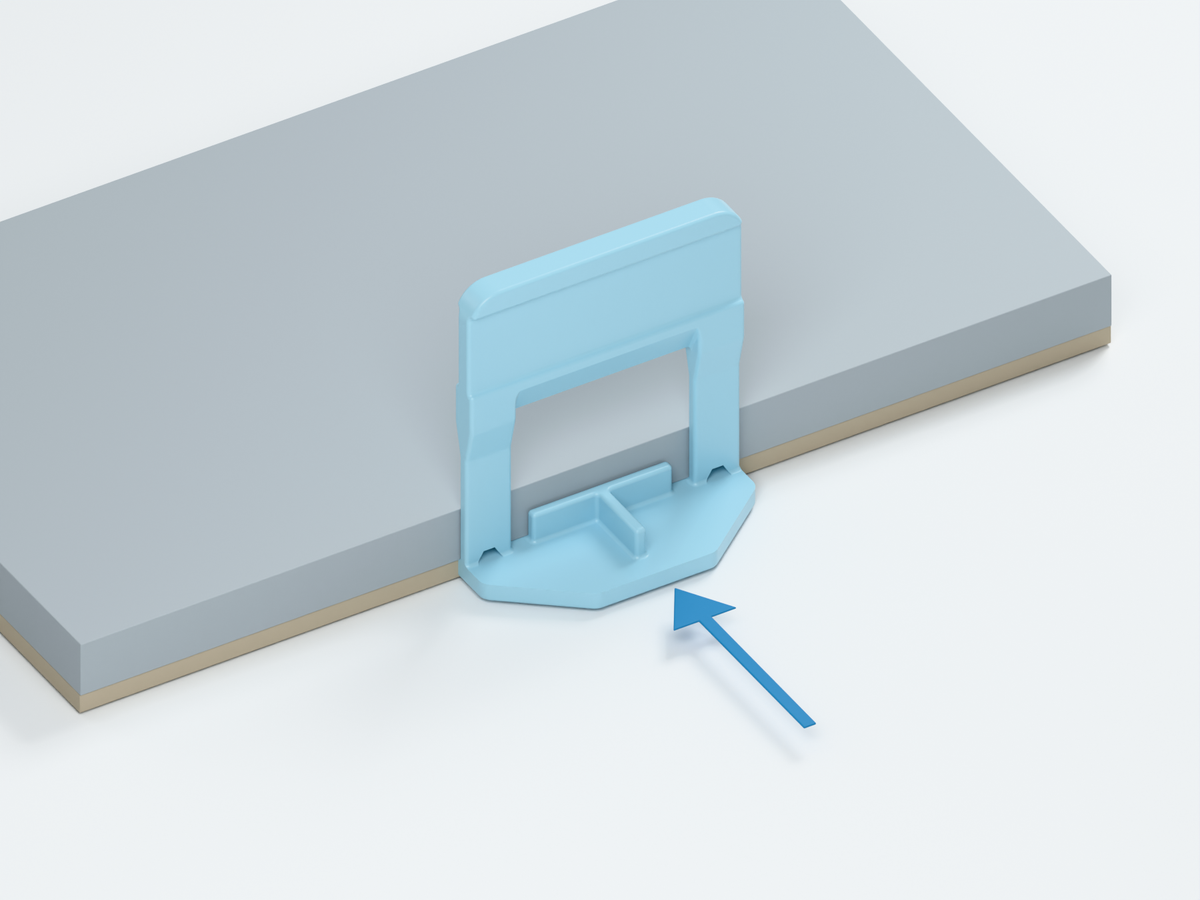
Place along the tile edges
Set out the brick bond, herringbone or offset pattern, then position the clip along the adjoining tile edges.
Use the clip to maintain the grout joint at those edges as the next tiles are laid. This is an edge-placement clip, rather than a four-corner spacing clip.
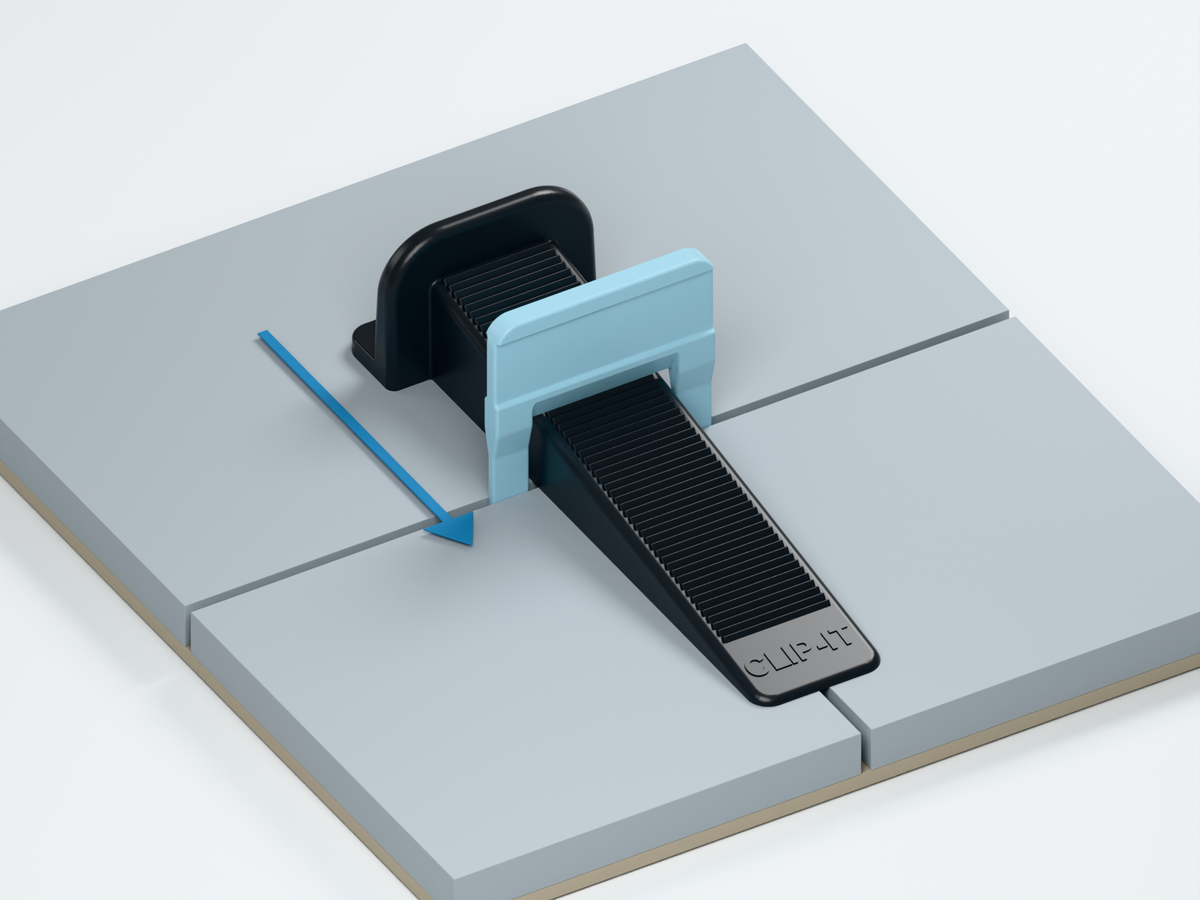
Insert and tighten the wedges
Push a compatible CLIP-IT® wedge through the clip opening to hold adjoining edges in alignment.
Use a compatible CLIP-IT® Wedge or Mini Wedge. Tighten by hand or with Tile Pliers and check that the tile edges remain aligned.
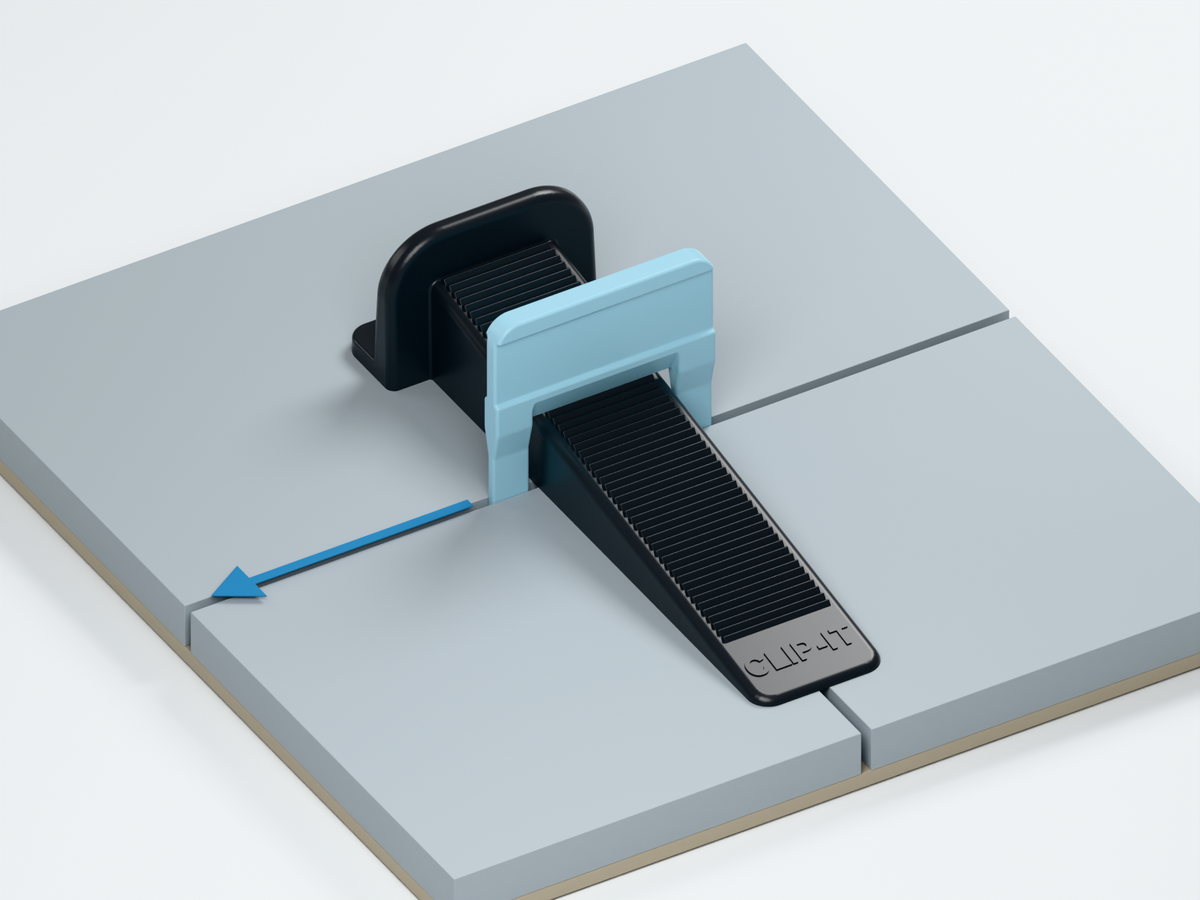
Let the installation cure, then remove
Wait until the adhesive or bedding material has cured, following the manufacturer’s curing instructions.
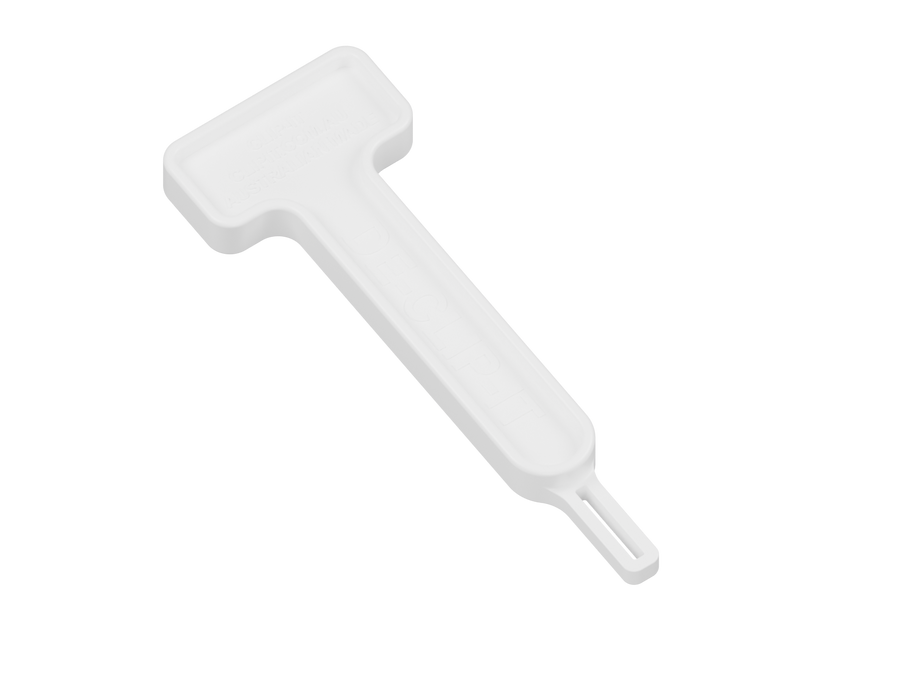
Remove clips along the grout line, by kicking in the direction of the joint or using the DE-CLIP-IT Hammer. Recover the wedges for reuse.
Complete the setup
Complete your setup.
Use the compatible CLIP-IT® products for this guide.
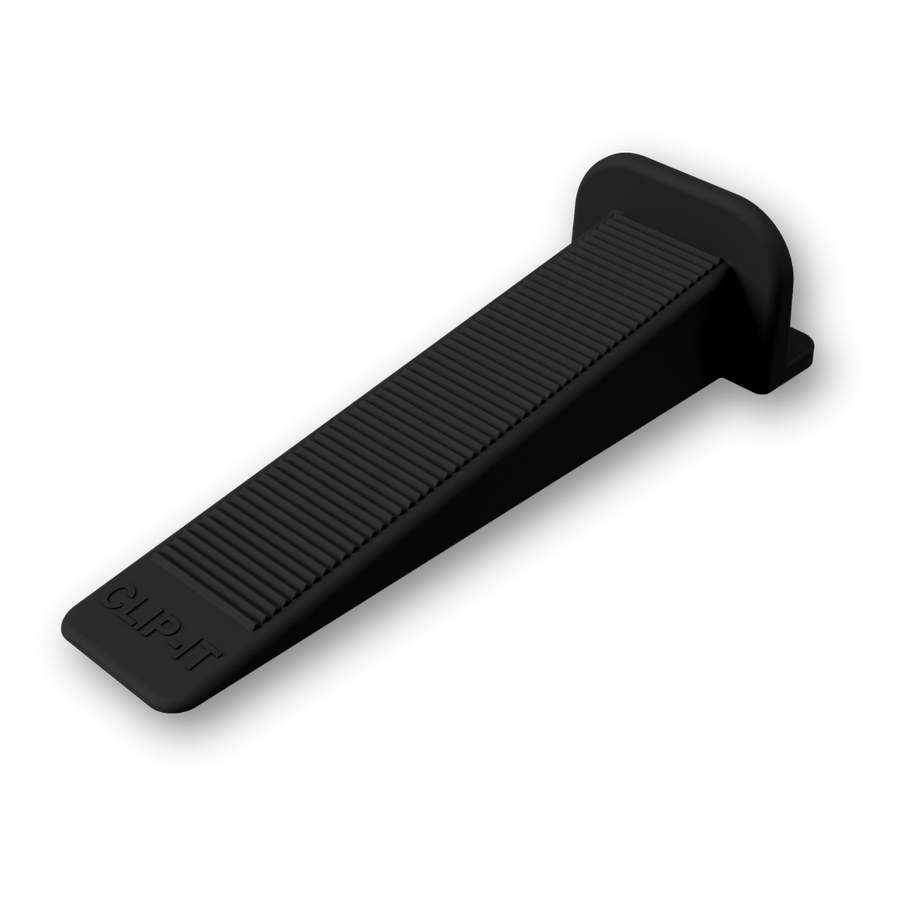
Reusable tile levelling wedges
Use the compatible wedge that fits the clip and tile.
View product How to use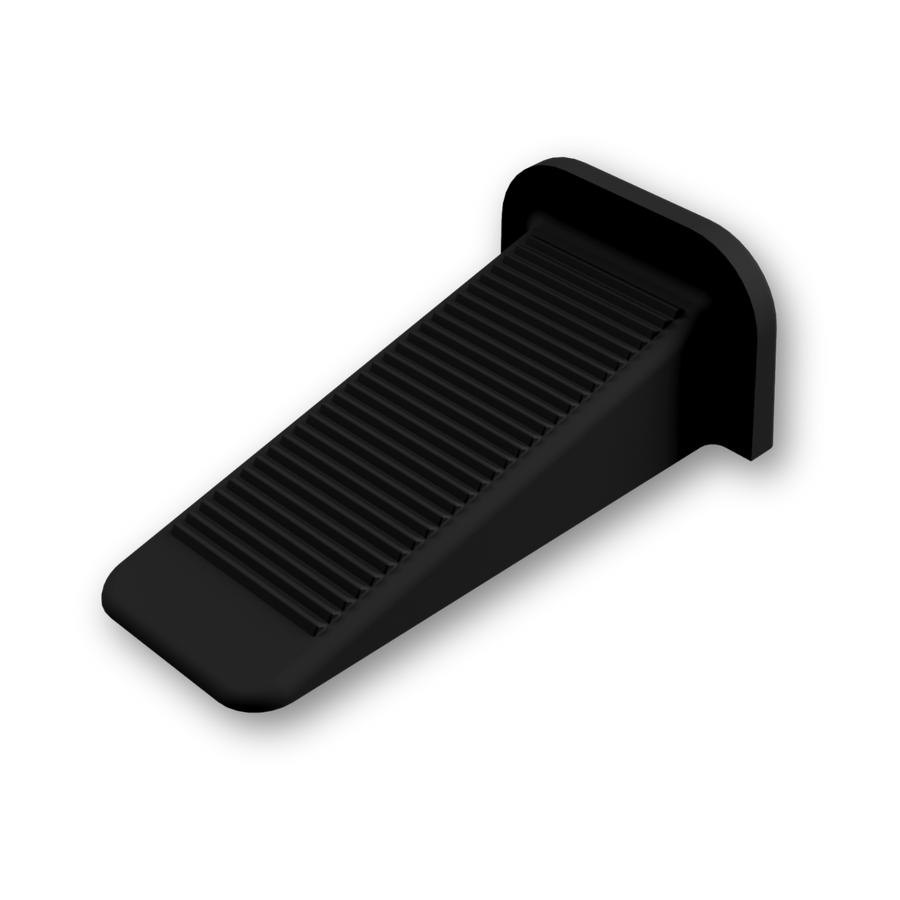
Mini tile levelling wedges
Use the compatible wedge that fits the clip and tile.
View product How to use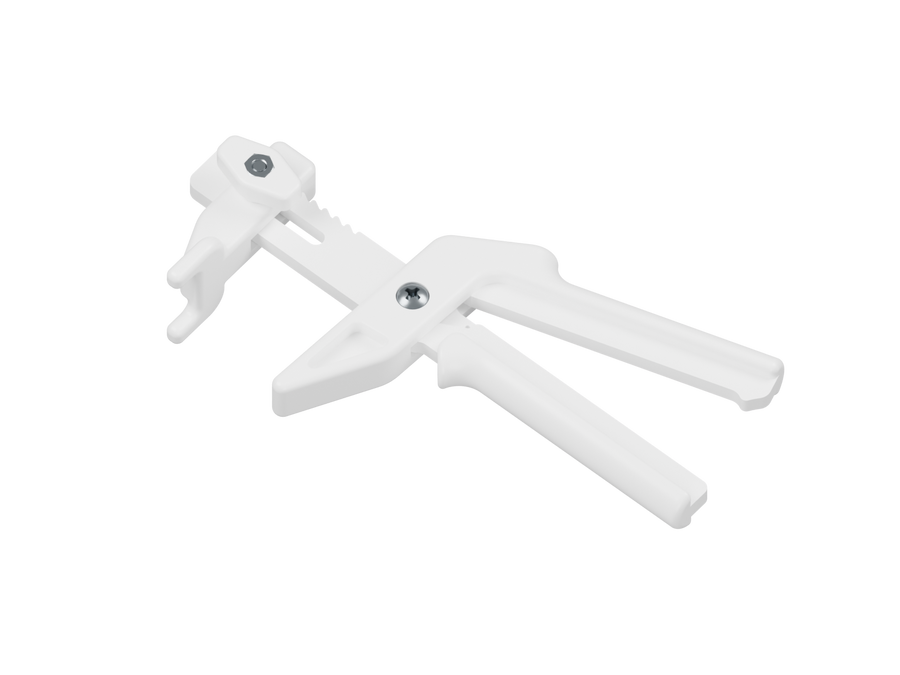
A few useful answers
Get the details right.
Pattern placement, joint spacing and compatible wedges.
What does 1.5 mm refer to?
It is the grout joint spacing, rather than the tile thickness.
Where should brick & herringbone clips go?
Along adjoining tile edges in brick bond, subway, herringbone, staggered or offset layouts. They are used where a standard four-corner spacing clip does not suit the layout.
What tile thickness does this specialty clip suit?
Check the clip fit against your tile thickness before starting. If you are unsure, ask CLIP-IT® or your stockist to confirm the setup.
When can I remove the clips?
After the adhesive or bedding material has cured. Follow its manufacturer’s curing instructions; there is no single curing time for every product and job.
Why is a clip not breaking cleanly?
Excess adhesive around the clip legs can interfere with removal. Keep that area clear during laying, allow curing, and remove along the grout line. Contact CLIP-IT® if a clip remains stuck.
Can the wedges be reused?
Yes. Recover the compatible wedges after clip removal and keep them for the next installation. The clips are designed to break at the base during removal.
Talk to the people who make it
Need a hand with your installation?
Tell the CLIP-IT® team your material thickness, joint width and what is happening so we can help you check the setup.